
 My Account
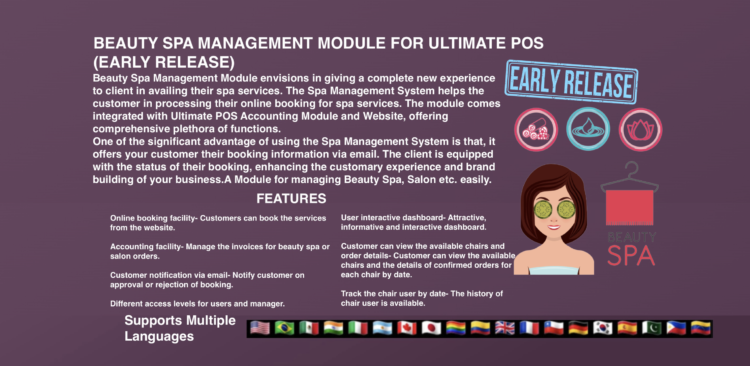
Overview
One of the significant advantage of using the Spa Management System is that, it offers your customer their booking information via email.
Features
 Online booking facility.Customers can book the services from the website.
Accounting facility.Manage the invoices for beauty spa or salon orders.
Customer notification via email.Notify customer on approval or rejection of booking.
User interactive dashboard.Attractive, informative and interactive dashboard.
Customer can view the available chairs and order details.Customer can view the available chairs and the details of confirmed orders for each chair by date.
Track the chair user by date.The history of chair user is available.
Different access levels for users and manager.Dashboard
Dashboard view is shown in the below image. Your customer can book the service in two ways, either via direct booking or online booking. The chairs with Black font color denote the ones available for online booking and the White ones for direct booking. From the dashboard, we will get all information about the chair, whether the particular chair is free or is in currently use, number of orders on the chair on the day and collection of the day. Also, one can see the active orders of that chair. If the user clicks on the chair, it will directly navigate to the active orders of that chair. In case, if the user want to change the settings of a chair, they can just click on the settings icon on the chair..
Chair (Salon -> Chair)
You can create new chairs and edit the details of each chair from here. You can assign a user to the chair by adding a new user in the users tab available in the form view of chair (Check the image shown below). The user who has been added last will be the current user of the chair. Using this tab, you can track which user is active on the Chair on a particular date or time. .
Services ( Salon -> Services)
Services provided by the Spa will be listed here. You can create new services and set the price and the required time to complete the services in Hours.
Working Hours (Configuration -> Working Hours)
Set the working hours here. The working hours will be available to the customers on the website, which will be helpful for them to book the services within the working hours .
Settings (Configuration -> Settings)
You can assign the chairs for online booking. Only the assigned chairs will be available to the customers on the website. Also, you can set the holidays from here .
Online Booking (Website -> Bookings)
The customers can book the services from the website by providing their contact details, the date and time for booking. The working hours will be displayed in a table, which will help the customer to choose the right time .
Check the availability of chair (Website -> Bookings)
The customer can check the availability of chairs from the website. They can select a particular date and see the chairs available for online booking and also the details of orders on each chair. Customers can use this option to choose the right time for the service .
Bookings (Salon -> Bookings)
You can see all the online bookings in a list view. You can either approve or reject a booking from the form view. In both cases, a notification email will be sent to the customer. In the current bookings tab inside the form view, you can see all the existing salon orders on the corresponding date on that chair. After checking the time availability, you can decide whether to approve or reject the booking. The approved bookings will be changed as salon orders .
Salon Orders ( Salon -> Salon Orders)
You can see all the salon orders in different stages in the kanban view. The salon order for the chairs, which are not available for online booking, can be created from here. The stages of the salon orders can be changed by dragging and dropping the salon orders in different stages. The list view for the salon orders is also there .
Salon Order Form View
Form view for the salon orders is shown in the image below. You can validate and confirm the salon orders in the ‘Draft’ stage to move them to the ‘Open’ stage. The ‘Open’ stage is used when you are working for the order. After finishing the service, create an invoice and then move the stage from ‘Invoiced’ to ‘Closed’ using the close button. You will get the invoice details of a salon order by clicking the Invoice button in the upper right side of the form view .


There are no reviews yet.